 ultimate-guide
HVAC Installation Mistakes to Avoid: 2026 Guide
Table of Contents
- Why HVAC Installation Mistakes Cost You Thousands
- HVAC System Sizing Mistakes: Oversized and Undersized Units
- Improper HVAC Ductwork Installation and Airflow Problems
- Thermostat Placement and Calibration Errors
- Indoor and Outdoor Unit Placement Mistakes
- Refrigerant Charge and Electrical Connection Failures
- Signs of a Bad HVAC Installation: What to Look For
- HVAC Installation Checklist: Verify Quality Before Sign-Off
- Frequently Asked Questions
Last Updated: October 11, 2026
Why HVAC Installation Mistakes Cost You Thousands
HVAC installation mistakes are expensive. A single error during setup can reduce your system's efficiency by 20-30%, drive up utility bills, shorten equipment lifespan, and leave you uncomfortable in your own home.
The problem isn't always visible. Many HVAC installation mistakes happen behind walls, inside ductwork, or in settings where only trained technicians can spot them. By the time you notice something's wrong, the damage is often done. That's why understanding what goes wrong during installation matters before you sign off on the work.
HVAC System Sizing Mistakes: Oversized and Undersized Units
The single most common HVAC installation mistake is choosing the wrong unit size. Contractors sometimes install systems that are too large or too small for the space they're conditioning. Both create serious problems.
An oversized unit cools or heats your home too quickly, then shuts off before completing a full cycle. This short-cycling wastes energy, increases wear on components, and leaves humidity uncontrolled.
An undersized unit runs constantly and never fully conditions your space. It works harder, uses more energy, and wears out faster.
How Manual J Load Calculations Prevent Sizing Errors
The correct way to size an HVAC system is through a Manual J load calculation. This is a detailed assessment of your home's heating and cooling needs based on insulation, air leakage, window area, climate, and occupancy patterns.
Manual J isn't optional, it's the industry standard. A proper load calculation takes 2-4 hours and considers dozens of variables specific to your home. Contractors who skip this step and guess based on square footage alone are setting you up for failure.
What Happens When Your Unit Is Too Large or Too Small
When your HVAC system is oversized, it reaches your setpoint temperature so quickly that the compressor cycles off before the air handler completes a full run. This prevents proper dehumidification. Your home feels clammy even at 72 degrees. The frequent on-off cycling also stresses components and shortens equipment life.
When your system is undersized, it runs almost continuously during peak heating or cooling seasons. Energy consumption climbs, utility bills spike, and the system never catches up to demand. You're paying premium rates to stay uncomfortable.
Improper HVAC Ductwork Installation and Airflow Problems
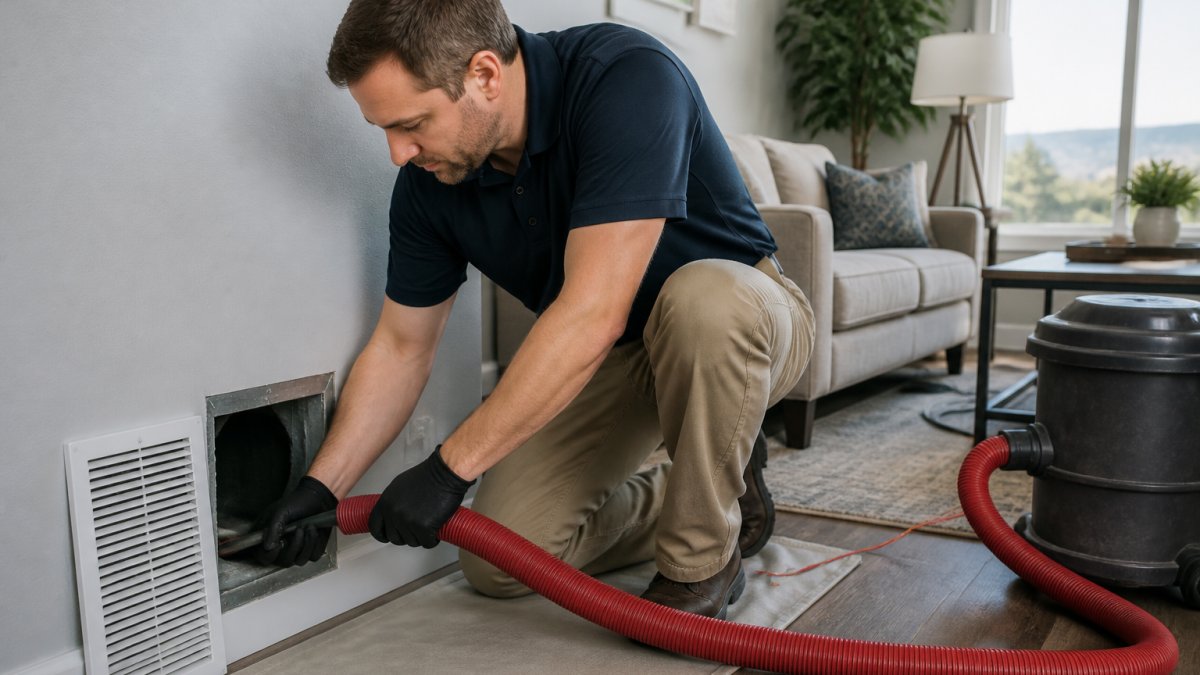
Ductwork carries conditioned air to every room. If ducts are improperly sized, sealed, or routed, your system can't deliver comfort efficiently. Many HVAC installation mistakes happen inside the duct system where homeowners never see them.
Undersized ducts create high static pressure, forcing your system to work harder to push air through. This increases energy use and reduces airflow to distant rooms. Oversized ducts waste space and reduce velocity, which means air moves slowly and temperature stratification occurs.
Duct Sizing, Sealing, and Static Pressure Mistakes
Duct sizing must match your system's airflow capacity, measured in cubic feet per minute (CFM). A professional calculates duct sizes based on equipment output and room-by-room demand.
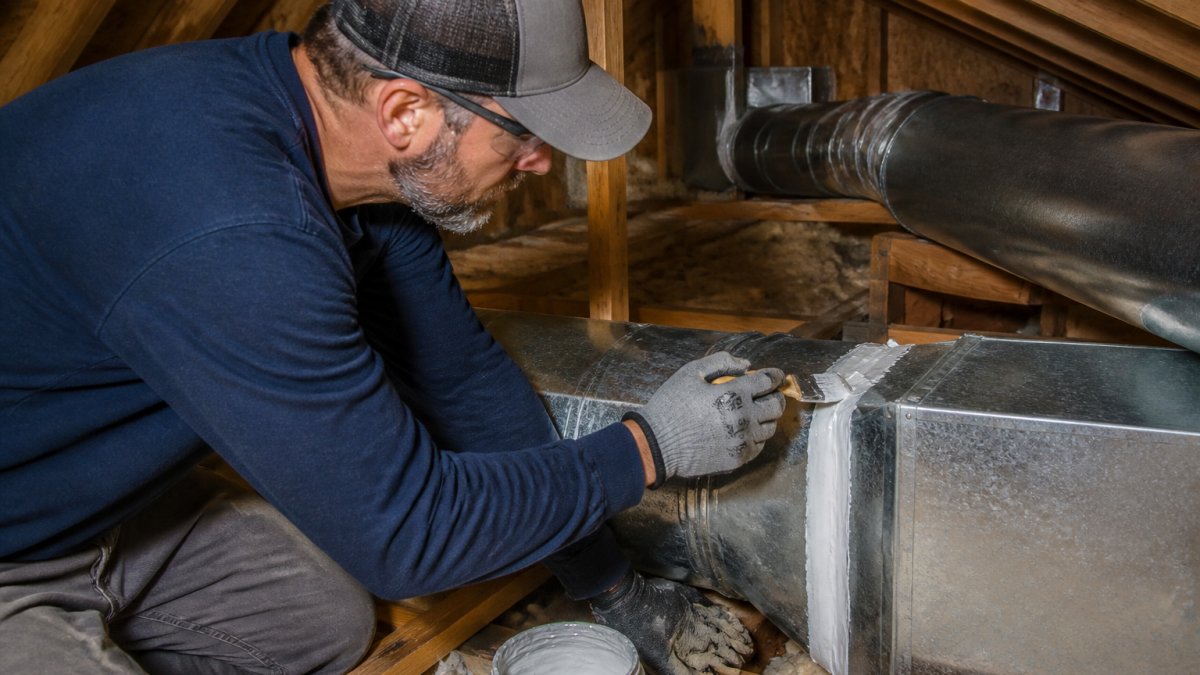
Duct sealing is equally critical. Unsealed ductwork leaks 20-30% of conditioned air into attics, crawlspaces, and wall cavities before it reaches your rooms. You're paying to cool or heat spaces you don't occupy.
Static pressure, the resistance ducts create against airflow, must stay within manufacturer specifications. If pressure is too high, your blower motor works overtime and fails early.
How Duct Leakage Reduces Efficiency and Comfort
Leaking ducts are one of the most expensive HVAC installation mistakes because the loss compounds over years. Every degree of temperature difference between your conditioned air and the unconditioned space it leaks into is wasted energy.
In summer, leaking cool air into a 95-degree attic means that air warms before it ever reaches a room. Your system cycles longer to compensate.
Thermostat Placement and Calibration Errors
Your thermostat tells the HVAC system when to run and when to stop.
Common thermostat placement mistakes include installing it near a heat source (lamp, kitchen, direct sunlight), in a drafty location, on an exterior wall, or inside a closet.
Proper placement is on an interior wall, away from direct sunlight, heat sources, and drafts, roughly 5 feet above the floor.
Calibration errors occur when thermostats are installed but not tested for accuracy. A thermostat that reads 2-3 degrees off can waste significant energy over a year.
Indoor and Outdoor Unit Placement Mistakes
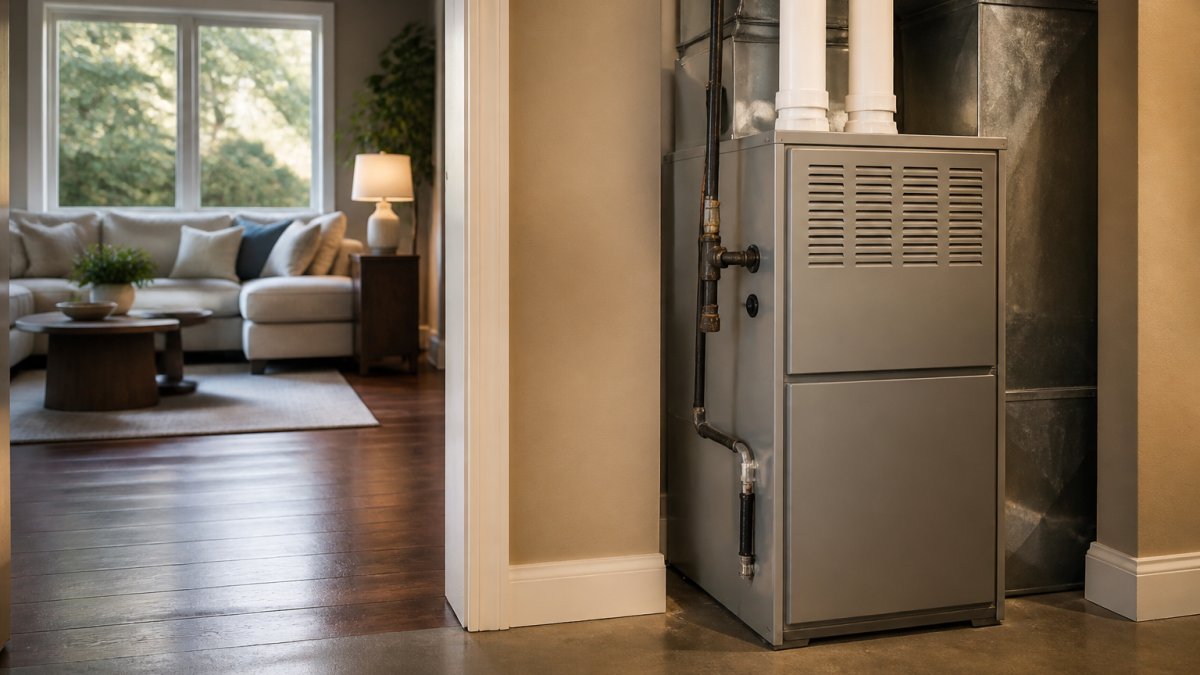
HVAC systems have two main components: an indoor unit (air handler or furnace) and an outdoor unit (condenser or heat pump). Both must be placed correctly for the system to function properly.
Indoor units should be installed in a location with good airflow, away from obstacles that restrict return air. Basements, attics, and closets can work if they allow unrestricted airflow.
Schedule your complimentary consultation →
Outdoor units are even more critical. They reject heat during cooling and absorb heat during heating. If placed incorrectly, they can't exchange heat efficiently.
Outdoor Unit Clearance and Airflow Requirements
Outdoor condenser and heat pump units need clearance on all sides to function properly.
Common HVAC installation mistakes with outdoor units include placing them against a fence, under an eave, or in a corner where airflow is restricted.
Outdoor units should be placed on a level pad, away from direct ground contact that can cause corrosion, and positioned to draw air from open space.
Refrigerant Charge and Electrical Connection Failures
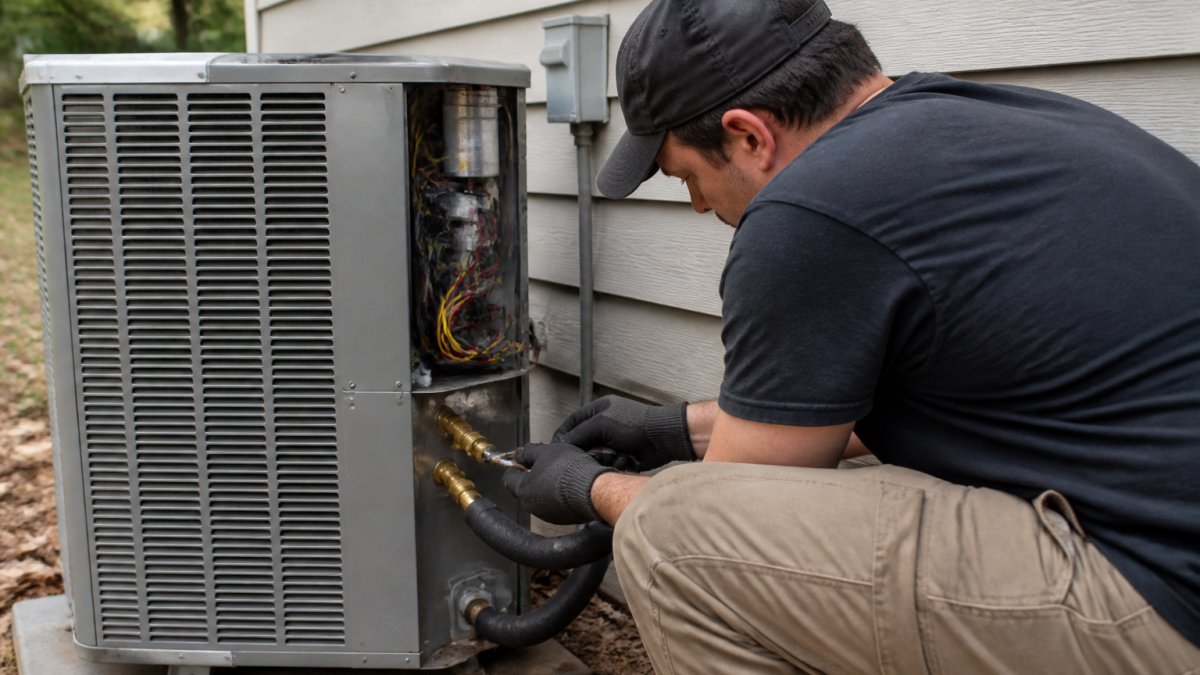
Refrigerant is the working fluid that carries heat between indoor and outdoor units. If the charge is incorrect, your system won't cool or heat properly.
Undercharged systems can't absorb enough heat, so they run longer and use more energy without delivering comfort.
Proper refrigerant charge is determined by the manufacturer and verified using pressure gauges and superheat/subcooling calculations during installation.
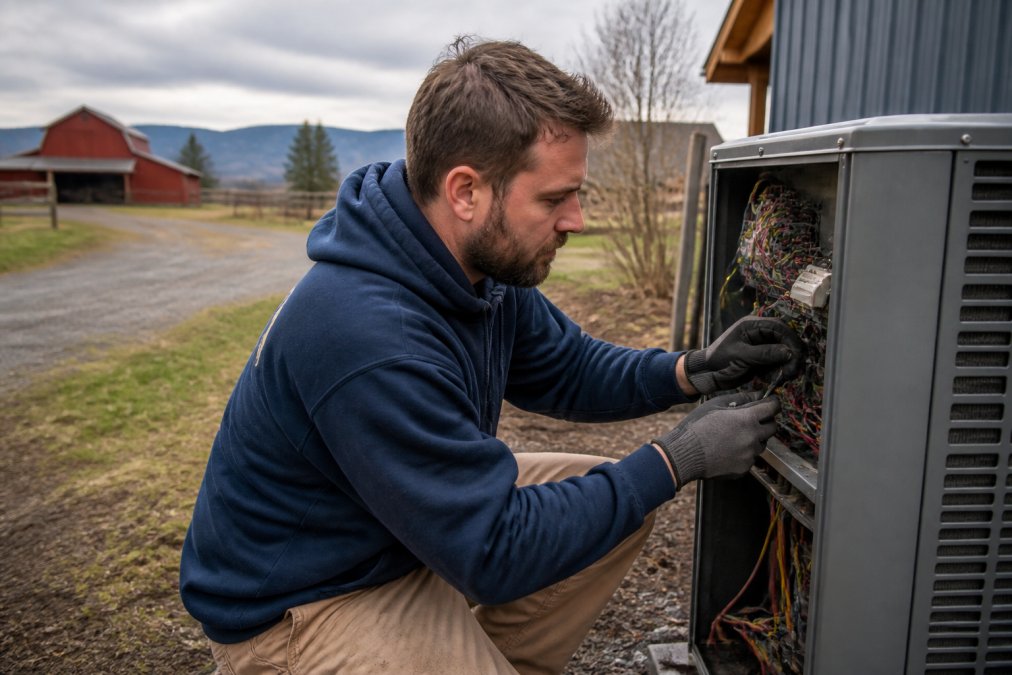
Electrical connections must also be correct. Loose connections create resistance, generate heat, and can cause fires. Improper voltage or phase connections damage the compressor immediately.
Signs of a Bad HVAC Installation: What to Look For
Even if you don't understand HVAC systems, you can spot signs that installation was done poorly.
Uneven temperatures between rooms suggest ductwork problems or improper airflow balancing.
Excessive noise from the outdoor unit or indoor handler indicates mounting issues or refrigerant problems.
Short cycling, where the system turns on and off frequently, points to oversizing, thermostat placement errors, or airflow problems.
Weak airflow from vents suggests duct leakage, improper duct sizing, or blower problems introduced during installation.
HVAC Installation Checklist: Verify Quality Before Sign-Off
Before you pay the final invoice, verify that your installation was done correctly. Use this checklist to inspect the work and ask your contractor the right questions.
Pre-Installation Verification
- Manual J load calculation was performed and documented
- System size matches your home's calculated heating and cooling load
- Ductwork design was reviewed and approved before installation began
- Thermostat location was selected and marked before work started
- Permits were obtained and inspections scheduled
- Contractor provided proof of licensing, bonding, and insurance
Post-Installation Commissioning and Testing
- System was pressure-tested and charged to manufacturer specifications
- Thermostat was calibrated and tested for accuracy
- Airflow was balanced room-by-room using a balancing damper
- Static pressure was measured and confirmed within spec
- Ductwork was sealed and leakage tested
- Electrical connections were verified with a multimeter
- System ran through heating and cooling cycles without short-cycling
- Temperature difference across the system was measured and documented
| Commissioning Task | What It Checks | Why It Matters |
|---|---|---|
| Refrigerant charge verification | System has correct amount of refrigerant | Prevents underperformance and compressor damage |
| Airflow measurement | Blower delivers proper CFM to each room | Ensures comfort and efficiency |
| Duct leakage testing | Seals are airtight | Prevents wasted conditioned air |
| Thermostat calibration | Temperature reading is accurate | Prevents unnecessary cycles |
| Static pressure test | Ductwork resistance is within spec | Reduces strain on blower motor |
Documentation, Permits, and Warranty Protection
- Installation invoice itemizes labor, equipment, and materials
- Manufacturer warranty documents were provided with serial numbers
- Workmanship warranty terms were explained in writing
- Permits were completed and final inspection passed
- As-built ductwork diagram was provided for future reference
- Thermostat programming was documented for your reference
- Maintenance schedule was explained and a service plan offered
Valley View HVAC provides complete documentation for every installation, including commissioning reports, warranty cards, and a detailed maintenance guide. We stand behind our work with a 2-year workmanship warranty and help you understand exactly what was installed and why.
HVAC installation mistakes are costly, but they're preventable. The difference between a system that runs efficiently for 15-20 years and one that fails in 5-7 years comes down to attention to detail during installation.
Frequently Asked Questions
What is the 20-degree rule in HVAC installation?
The 20-degree rule refers to the acceptable temperature difference between the air entering and leaving an air conditioning system. If this difference is less than 15 degrees or exceeds 22 degrees, it signals improper refrigerant charge, airflow problems, or ductwork issues. This measurement is one of the most reliable ways to verify your HVAC system was installed correctly and is operating at design capacity.
What happens if an HVAC system is oversized or undersized?
An oversized unit cycles on and off too frequently (short cycling), wasting energy and failing to dehumidify your home properly. An undersized unit runs constantly, driving up utility bills and wearing out equipment faster. Both scenarios reduce system lifespan, increase repair costs, and compromise comfort. Proper sizing via Manual J load calculation prevents these costly mistakes and ensures your system matches your home's actual heating and cooling needs.
How do I know if my HVAC installation was done incorrectly?
Signs of a bad HVAC installation include uneven temperatures between rooms, higher-than-expected utility bills, short cycling (frequent on-off cycles), unusual noises, refrigerant leaks, or a temperature difference across the system outside the 15-22 degree range. Request a commissioning test from your contractor immediately after installation. Verify that all ductwork is sealed, the outdoor unit has proper clearance, and the thermostat reads accurately. A quality contractor should provide documentation proving load calculations, equipment specifications, and system testing.
Why is proper ductwork sizing critical during HVAC installation?
Improperly sized ductwork creates excessive static pressure, reducing airflow and forcing your system to work harder. Undersized ducts starve rooms of conditioned air; oversized ducts lose efficiency and increase noise. Duct leakage compounds the problem, allowing 20-30% of conditioned air to escape before reaching your home. A complete HVAC installation checklist must include duct sizing calculations, pressure testing, and sealing to ensure balanced airflow and optimal energy efficiency.
What should I check after a new HVAC system is installed?
After installation, request a commissioning report showing the 20-degree temperature difference measurement, refrigerant charge verification, airflow readings, and duct pressure test results. Confirm the thermostat is calibrated and positioned away from heat sources, direct sunlight, or drafts. Verify all electrical connections are secure, the condensate drain is clear, and warranty documentation is complete. Ask your contractor to walk you through filter replacement, maintenance schedules, and how to identify problems early.
Can poor HVAC installation increase my energy bills?
Yes. Undersized units run constantly; oversized units short-cycle and waste energy. Leaky ductwork, improper refrigerant charge, and airflow restrictions all force your system to work harder, significantly increasing utility costs. Poorly installed systems can significantly increase energy consumption compared to properly sized and commissioned equipment. Investing in correct installation, load calculations, and commissioning protects your long-term operating costs and equipment lifespan.
What is the $5,000 rule in HVAC installation?
The $5,000 rule is an informal industry guideline suggesting that installation errors and improper sizing can cost homeowners $5,000 or more in wasted energy, premature equipment failure, and repair costs over the system's lifetime. This underscores why choosing a qualified contractor who performs proper load calculations, follows installation best practices, and provides commissioning documentation is a cost-effective investment despite higher upfront pricing.